Hover Text using the Image Title
You can use the Image Title Attribute setting to add a title to an image in your HTML5 output. The title is shown as text in a tooltip when you position the cursor over the image.
-
Right-click the image and select Edit properties.


-
Select the edit icon for the Title field.

Note
Image titles can only be in one language.
-
Enter the text that you want to use as the title and confirm the change with the checkmark.

-
Close the dialogue.
-
Select Layout in the top menu.
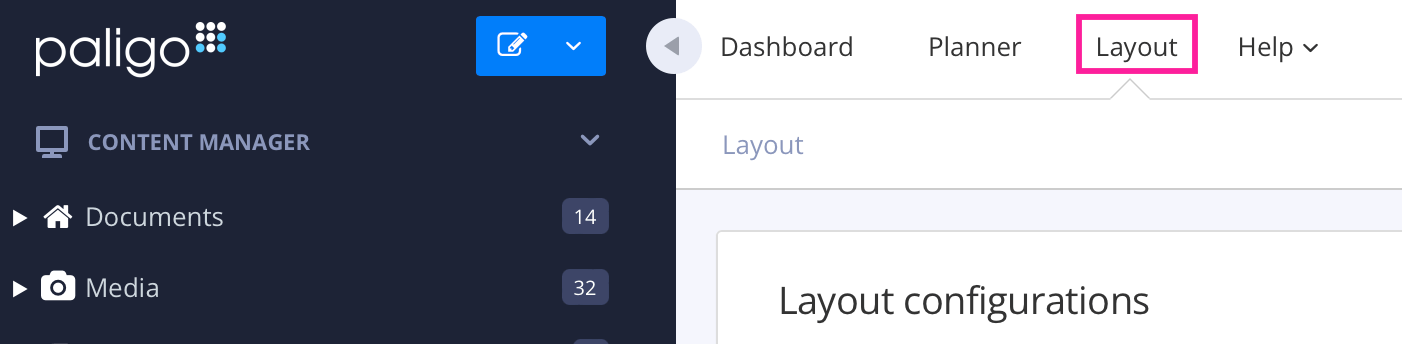
Paligo displays a list of Layouts. The list is empty if there are no custom Layouts in your Paligo instance.
-
Select the Layout you want to update or Create a Layout.
Tip
You can copy the URL of the Layout Editor and paste it into a new tab in your browser. This can be useful if you frequently switch between your Paligo content and the Layout settings.
-
Select Images in the sidebar.

-
Set Image title attribute to Enable.
If you set Image title attribute to Disable, the hover tooltip will not appear on the image in the published HTML5 output.
-
Select Save.
When you publish to HTML5 using this layout, the image in your output will have a tooltip that shows the title text.
 |