Tasks
Tasks are a more formal structure for step-by-step procedures. They have a title and a procedure by default, and you can also add other task-exclusive elements to them, including:
-
tasksummaryUse to add a summary of the task, typically before the task's procedure. This gives readers an understanding of what they will achieve.
-
taskprerequisiteUse to add information about the things that need to be in place before the user starts the procedure. This could involve information about licenses, types of user account, subscription plans, or confirmation that other tasks have already been completed.
-
taskrelatedUse to add links to related tasks. This is usually added before or after the task's procedure.
Should you use tasks instead of regular procedures? It depends on the structure you want for your step-by-step instructions. If you want your procedures to have a title and any of the other task-related structural elements, use a task. But some people find this to be too structured, and
they prefer to have no title and just the list of steps that comes with a regular procedure.
Note
Some of the task elements may require a customization for styling in PDF outputs. For HTML outputs, you can style the elements with CSS (see Style with CSS).
To learn how to add tasks to your topics, see Create a Task.
Use task elements to create a more formal structure for step-by-step procedures, where there is a task title as well as the procedure. You can also add other task-related elements.
To create a task:
-
Select the topic or component in the Content Manager to open it in the Editor.
Alternatively, you can Create a Topic and edit that.
-
Position the cursor at a valid position for a task element.
This is similar to other types of lists, where the cursor has to be between block elements, for example, after a
paraelement but before the nextparaelement.
-
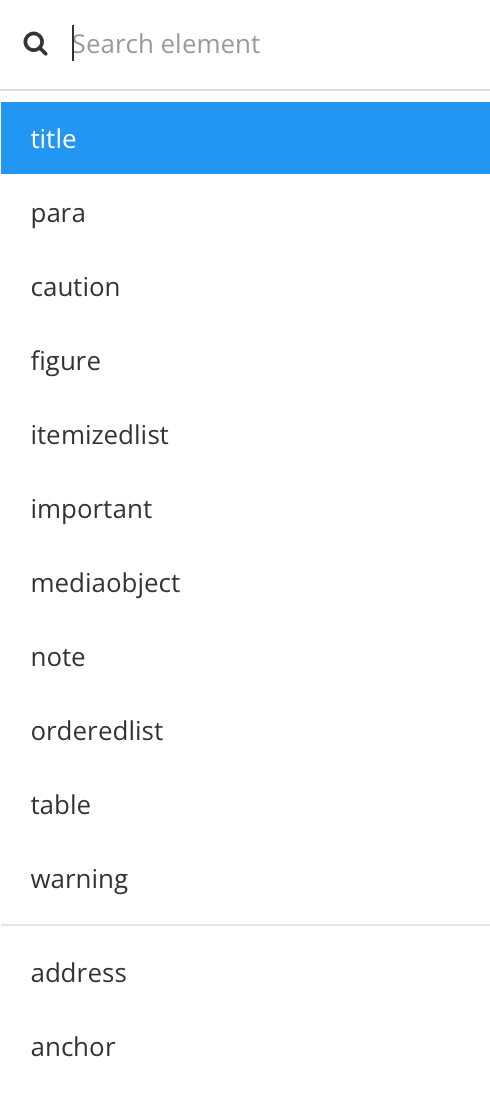
Press Alt + Enter ⏎ (Windows) or Command ⌘ + Enter ⏎ (Mac) to display the Element Context Menu.
-
Enter
taskand select it.Paligo adds a
taskelement. It has atitleelement and aprocedureelement with astepinside it.
-
Enter the text for the task
titleand theproceduresteps.To add another step, press Enter at the end of the currently selected step.
You can also add other elements, for example, you might want to add a
paraelement for some text between the tasktitleand theprocedure. To do this, place the cursor at the end of thetitleand press Enter. You can then use the element context menu to add other elements. -
To add a
tasksummaryelement, position the cursor inside thetaskstructure, between two block elements and use the Element Context Menu to add atasksummaryelement.If the
tasksummaryelement is not available, the cursor is not in the correct position. -
Position the cursor inside the
tasksummaryelement, and use the Element Context Menu to add elements.This could be one or more
paraelements for text, or you could add other types of content structure such asitemizedlistfor a bullet list. Enter the content for the summary in the elements.
-
To add prerequisites, position the cursor inside the
taskstructure, between two block elements and use the Element Context Menu to add ataskprerequisiteselement.Paligo adds a
taskprerequisiteselement, and inside that there is aparaelement. Enter text in thepara. You can also use the element context menu to add other elements inside thetaskprerequisiteselement, such as anitemizedlist.
-
To add
taskrelatedelements, position the cursor inside thetaskstructure, between two block elements and use the Element Context Menu to add ataskrelatedelement. -
Position the cursor inside the
taskrelatedelement and use the Element Context Menu to add other types of content structure, such asparaelements or anitemizedlist.Typically, you would use these to add text and you can then add links by using the Insert > Link menu in the toolbar.

-
Select Save.

Note
The tasksummary, taskprerequisites, and taskrelated elements are all optional. You can also add other types of content structure inside a task, such as an example. The
Element Context Menu provides access to those elements that are valid at the cursor's current location.
Here, we have covered the elements that are only available for use in a task.
In this example, we'll guide you through the steps for creating a task in an informaltopic. The task will have a task summary, prerequisites, and related tasks. You will learn how to add the various task elements and then you can apply the same techniques when creating your own tasks.
-
Create an
informaltopic. You could use a regular topic instead if you prefer. Theinformaltopichas aparaelement inside it by default. That's not needed for the task, so delete theparaelement.
-
Next, use the element context menu to add a
taskelement.To access the element context menu, press Alt and Enter (Windows) or Option ⌥ and Enter (Mac).

When you add the
taskelement, Paligo adds atask, and atitleand aprocedureinside the task element.
-
Enter the text for the title.
-
Position the cursor after the task's
titleelement but before the next element (procedure, in this case). Then use the element context menu to add thetasksummaryelement.
-
Select the
tasksummaryelement and then use the element context menu to add an element for your summary content. There are many different types of element that you could use here, as explained in the DocBook schema, see DocBook task summary.For this example, use the
paraelement and enter your summary text in that.
-
For prerequisites, place the cursor after the
tasksummarybut still inside thetaskelement. In the element structure menu, you should see that task is the last element shown.
Then use the element context menu to add the
taskprerequisiteelement. -
Select the
taskprerequisiteelement and use the element context menu to add the elements you want to use. There are many possibilities here, including different types of list and paragraph elements too.For this example, add a paragraph with the text "Prerequisites" followed by an itemized list. Add the prerequisites as list items.

-
Enter the text for your
proceduresteps. Press Enter at the end of a step to create the next step in the procedure, or you can manually add astepand aparaelement for each one if you prefer. -
For related tasks, add the
taskrelatedelement. For this example, add it after theprocedureand use it to add links to other related tasks. Then select thetaskrelatedelement and use the element context menu to add the elements for a paragraph and an itemized list. Insert links to other topics as list items.

-
Select Save.
You should now have a complete and valid task. In the underlying code, which you can see in the source code editor, the task should look something like this:
<?xml version="1.0"?>
<sidebar xmlns="http://docbook.org/ns/docbook" xmlns:xinfo="http://ns.expertinfo.se/cms/xmlns/1.0" xml:id="UUID-9fa6db45-2e2d-09b6-11f5-2bda3215f17b" version="5.0" xml:lang="en" xinfo:resource="UUID-9fa6db45-2e2d-09b6-11f5-2bda3215f17b" xinfo:resource-id="110111" xinfo:resource-type="component" xinfo:resource-subtype="informaltopic" xinfo:resource-title="Replace ACME 100 Battery" xinfo:resource-titlelabel="" xinfo:version-major="1" xinfo:version-minor="0">
  <task>
    <title xinfo:text="110123">Replace ACME 100 battery</title>
    <tasksummary>
      <para xinfo:text="110124">How to replace the battery in an ACME 100 device.</para>
    </tasksummary>
    <taskprerequisites>
      <para xinfo:text="110125">Prerequisites:</para>
      <itemizedlist>
        <listitem>
          <para xinfo:text="110126">ACME 100 replacement battery</para>
        </listitem>
        <listitem>
          <para xinfo:text="110127">ACME 100 unit key</para>
        </listitem>
      </itemizedlist>
    </taskprerequisites>
    <procedure xml:id="procedure-idm4679030963721632366065195995">
      <step>
        <para xinfo:text="110128">Use the ACME 100 unit key to unlock the 4 corner locks on the rear panel of the ACME 100. Turn the key anticlockwise to unlock.</para>
      </step>
      <step>
        <para xinfo:text="110129">Press the release latch and then gently pull the cover towards you.</para>
      </step>
      <step>
        <para xinfo:text="110130">Remove the battery from the ACME 100 device.</para>
      </step>
      <step>
        <para xinfo:text="110131">Insert the replacement battery, making sure that the positive and negative terminals of the battery are positioned correctly. The battery compartment has plus (positive) and minus (negative) markings to show the appropriate connections.</para>
      </step>
      <step>
        <para xinfo:text="110132">Close the hatch and make sure the latch clicks into place.</para>
      </step>
      <step>
        <para xinfo:text="110133">Use the ACME 100 unit key to lock the corner locks.</para>
      </step>
    </procedure>
    <taskrelated>
      <para xinfo:text="110152">See also:</para>
      <itemizedlist>
        <listitem>
          <para xinfo:text="110153">
            <link xmlns:xlink="http://www.w3.org/1999/xlink" xlink:href="http://RANDOM">Recharge ACME 100 battery</link>
          </para>
        </listitem>
        <listitem>
          <para xinfo:text="110154">
            <link xmlns:xlink="http://www.w3.org/1999/xlink" xlink:href="http://RANDOM">Mains power for ACME 100</link>
          </para>
        </listitem>
      </itemizedlist>
    </taskrelated>
  </task>
</sidebar>
Note
The XML ids will be different in your topic.